

Custom Fitouts
How Does the Custom Campervan Fitout Process Work?
Transforming a van into a custom campervan is an exciting journey of turning an empty shell into a mobile home tailored to your lifestyle. Whether you’re dreaming of off-grid escapes or coastal road trips, the process follows four key steps to ensure a smooth and personalised experience.

Step 1 – Choosing the Right Vehicle
Before any design work begins, it’s important to choose the right base vehicle. During this early consultation, factors like brand (e.g. Mercedes-Benz Sprinter, Fiat Ducato, Renault Master) and van size (MWB – Medium Wheelbase, LWB – Long Wheelbase, or XLWB – Extra Long Wheelbase) are discussed. The choice depends on how much living space is desired, what kind of terrain you plan to travel through, and your parking or storage needs. This step sets the foundation for everything that follows.

Step 2 – Layout and Inclusions
With the vehicle selected, the focus shifts to designing the interior layout and deciding on the key inclusions. Layout options—rear bed, side kitchen, indoor shower, dinette, or lounge areas—are carefully considered. Clients also decide how many windows the van will have and where they will be positioned, including the option for fixed or sliding windows and the inclusion of a skylight for added light and ventilation. Appliances and systems such as fridge size, toilet type, air conditioning, solar power, and even Starlink internet are also chosen. In this stage, colours, materials, and fabrics are selected, and the result is a detailed quote and layout diagram.
Step 3 – Build
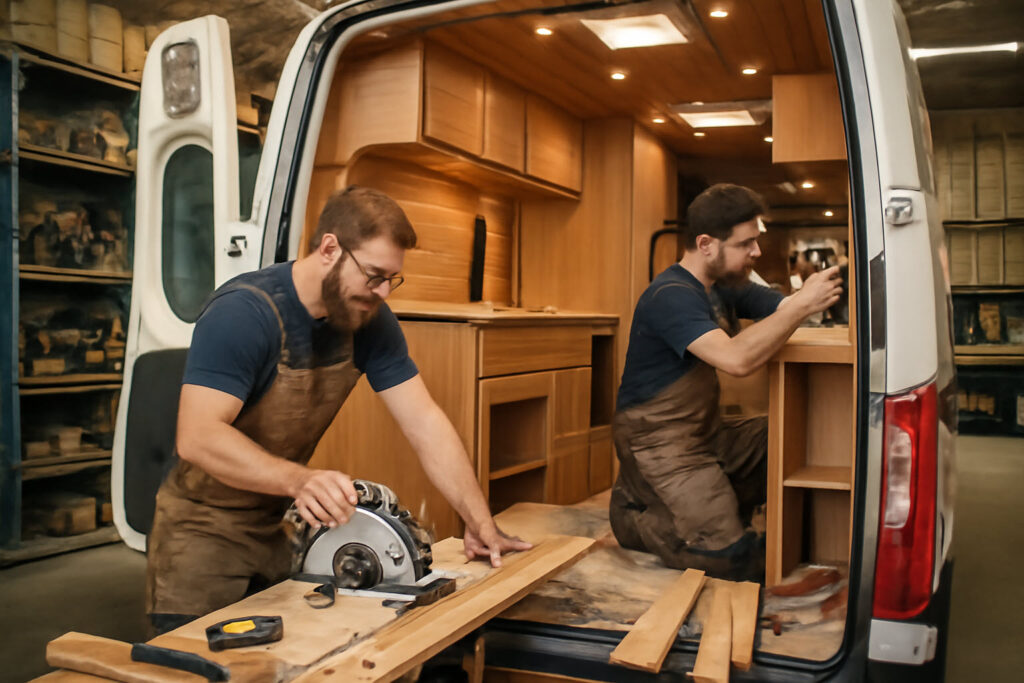
Once the plan is finalised, the build begins. Carpenters, electricians, and plumbers work together to bring the design to life with precision and care. Clients are encouraged to stay involved through progress updates and on-site visits, ensuring that all finishes and details align with expectations. Before handover, a thorough quality control process is carried out—every system is tested, every fixture inspected, and the van is taken for a test drive to ensure nothing rattles or makes unwanted noise. This guarantees a smooth and quiet experience on the road.
Step 4 – Handover
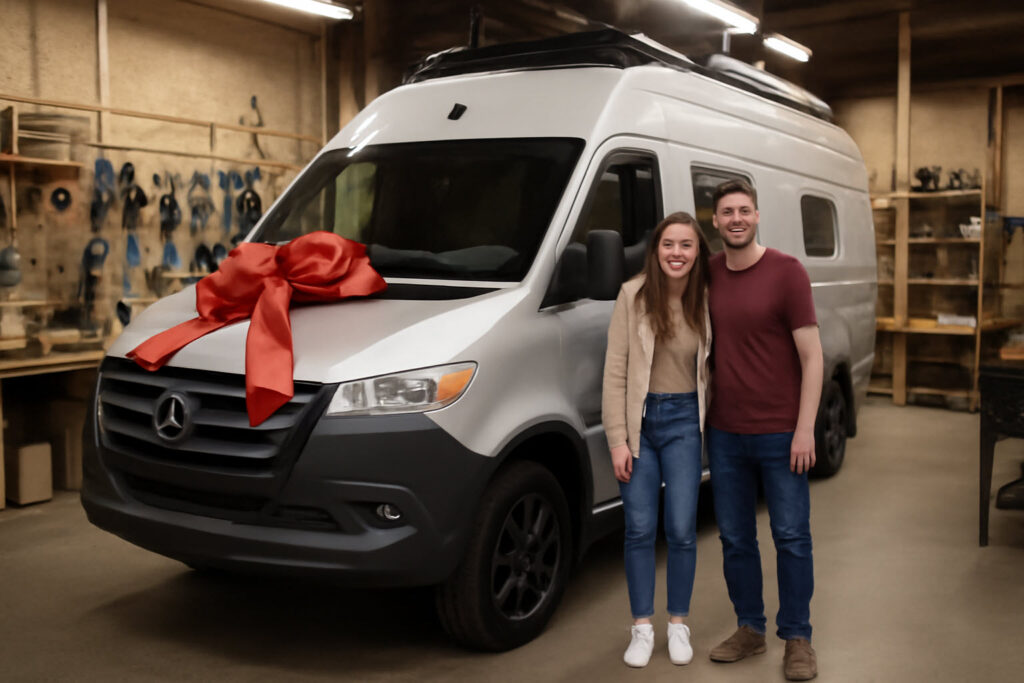
After completion, the campervan is handed over with a full walkthrough of its systems and features. From how to operate the electrical setup to maintaining water tanks, everything is explained in detail. Final adjustments are made if needed, and the keys are handed over—marking the start of your adventures on the open road.
A custom campervan fitout is a collaborative and rewarding process that results in a vehicle perfectly tailored to your travel dreams.